How to Hard Wire your GPS Tracking Unit
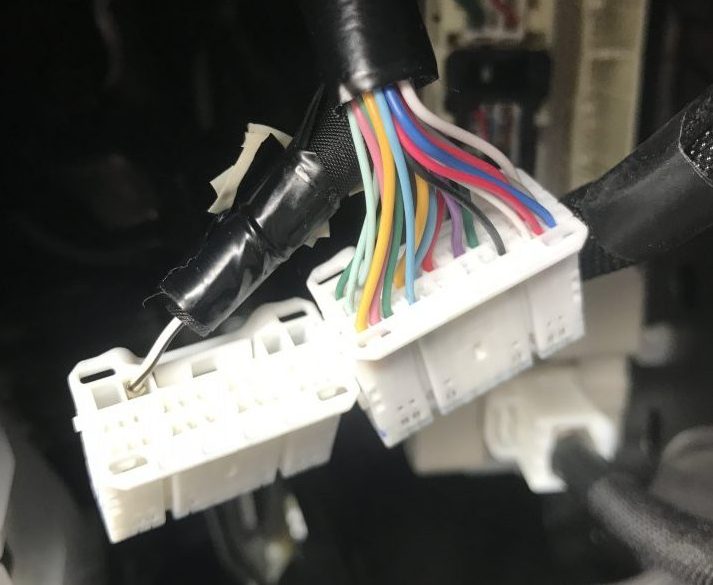
Your GPS tracking device comes with wiring harness. Tools you may use to install the device comprise a screwdriver, wire stripper and cutter, crimping tool, voltmeter. The optional materials you can use: connectors, tape, zip tie. Basic operation requires constant power (+ 12V) and ground (sometimes called negative). To make active the optional Tow Alert, a connection to the ignition switch or ACC is necessary if you want tow alerts. It is very important if you want tow alerts.


Connecting Constant +12V Power (Red wire)
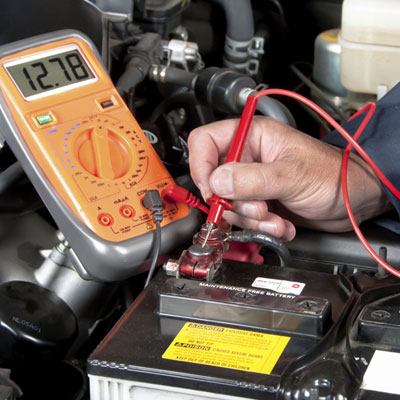
First things first, you’ll need to use a voltmeter to find the CONSTANT+12v source near the car’s dashboard.
This source can be found in a number of places and it is different with each vehicle. Some of these places and locations may be more suitable than others so when installing, do it right.
Next up is finding the wires you need, when selecting the power source use a volt meter to make sure it is a constant 12 volt power source. it should be 12 volt even with the key out of the ignition switch position, if the doors are opened or if they’re closed and whether the lights or other accessories of the automobile are switched on or off.
The third main step is to join the RED wire from the GPS tracker to the +12V source, this is done using the type or joining of your choice. A strong connection should be made sure of, in order for it to survive the shock and temperature.
Connecting Ground (Black wire)
When connecting the black wire, ensure that it is preferably connected to a chassis ground screw, this ground source is the best if available.
it is also important that you have a strong and clean connection so that it does not interfere with the ground link to another circuit of the vehicle.
Testing the installation
To test your installation, take note of the following:
When the harness is connected to Power and Ground, the device will power up. Two lights on the side of the device will begin flashing – one is green and one is orange. The green light indicates operation of the GPS module. It flashes while establishing a connection to the satellites. Once it gets a “fix”, the light stops blinking and glows constantly. Test in an open area like a parking lot or street, as the roof of a garage or building will block the signal. In normal conditions, it may take a few minutes for the device to get a GPS fix.
The orange light indicates operation of the Cellular module . It will blink slowly while seeking a connection, then quickly as it makes the connection and when communicating. When it has a connection, the light will be solid. In areas with good cellular signals, it will typically take a minute or two to get a cellular data connection.
AFTER INSTALLATION ALWAYS CHECK ON WEBSITE FOR LOCATION ACCURACY.

Look at the two lights on the side of the device.
Orange Cellular Network- Fast Blinking = Searching, Solid = Cellular signal is OK
Green GPS Network- Blinking = Searching, Solid = GPS Signal is OK

Installation Overview of the GPS tracking device
The GPS device must be in the cabin of the automobile and the GPS generally is not water proof (unless specified) when you purchase the device. It is also not intended to fit outside or under the hood of an automobile, unless it is waterproof.
The GPS device includes interior cellular and GPS antennas, so device location and direction are significant for consistent tracking. The GPS must be anywhere where there is no metal between the GPS and the sky. Usually beneath the windshield, under the dashboard.
Secure up the GPS by using a zip tie, tough double-sided tape or alike items. Install the GPS with label facing down (read GPS label). Hide and protect the wires of the connection and tie the exposed wires. Be confident that the wire does not go down into the noticeable areas of the automobile. Make sure the pedals, glove boxes, fans, heaters, etc. are not in the places where they can be harmed.

